The Salyers

The Salyers
Showing posts with label Recipe's thru Photos. Show all posts

Tuesday, December 14, 2010

Chicken Noodle Soup

Nothing beats a warm delicious bowl of soup on a cold winters day.  I decided to try a chicken noodle soup recipe and I'm so proud of its turn out.  I had never made it before (pretty sure opening a can of Campbell's doesn't count!) and was a little nervous but it was amazing! I just used a simple recipe I found with Google.  Here's what you will need:

  • 3-4 stalks of chopped celery

  • 3-4 chopped carrots

  • Half of onion chopped

  • 1/4 cup of butter

  • 1/4 cup fresh parsley chopped

  • 12 cups water

  • 9 chicken bouillon cubes (yes NINE, seems like a lot but just do it, trust me!)

  • Dash of dry Marjoram

  • Dash of dry bay leaves (you can use fresh if you prefer, I only had dry and it worked just fine)

  • 1 teaspoon of black pepper

  • 2-3 Large Boneless Skinless Chicken Breasts

  • 8 oz of Egg Noodles


To start, boil your chicken until done.  Drain and cut into big chunks or shred (whichever you prefer).  In another large stock pot saute' your celery and onion in 1/4 cup of butter.  Then add the 12 cups of water, bouillon cubes, carrots, bay leaves, parsley, marjoram, black pepper and chicken.  Bring to a boil for a few minutes and then simmer for about 30 minutes.  After soup has simmered add egg noodles and simmer another 10 minutes or until noodles are tender.

Then ENJOY! Just try not to burn your tongue like me and Dustin did because we were impatient and couldn't take the time to blow it! It's so very simple.  It's pretty much just a little bit of chopping and adding stuff to a pot.  Just so you want to make it even more, here's a picture of what it looks like!


Right after this picture I crunched up some crackers in mine, talk about heaven!

Sunday, August 22, 2010

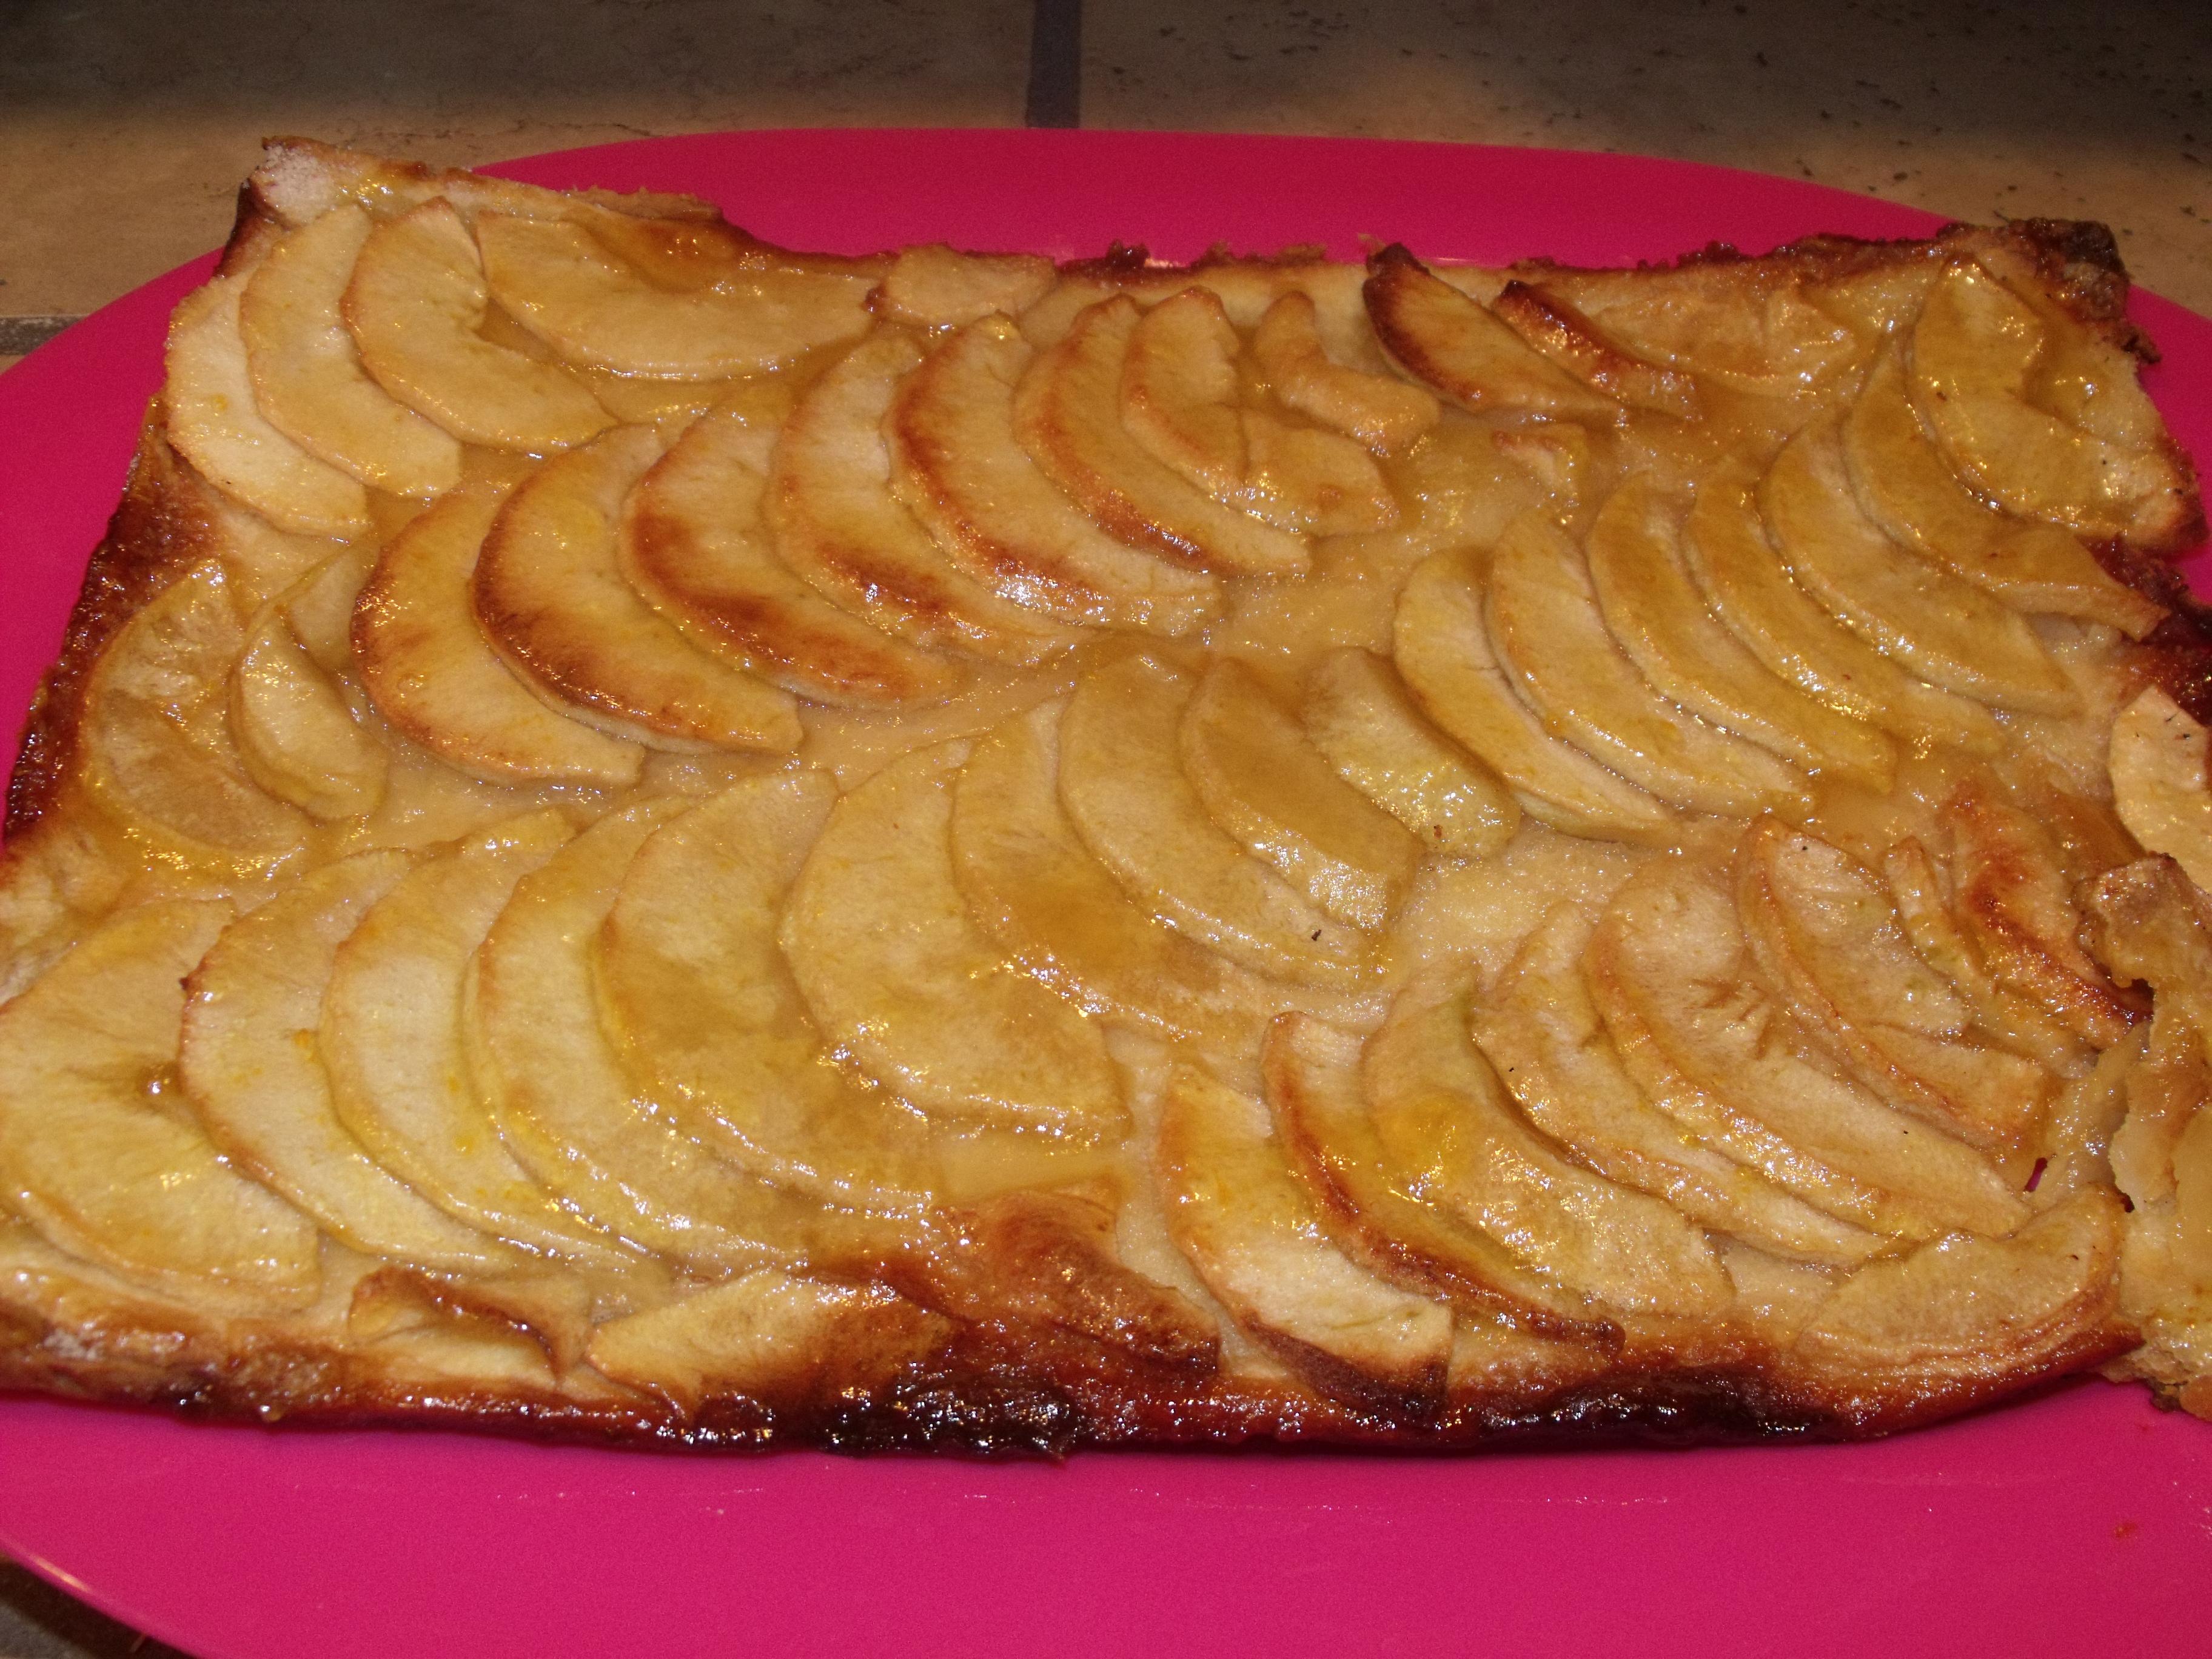
Apple Fritter

If you are looking for a yummy dessert for yourself or your family, this is the one.  I'm not a huge fan of apples myself but this recipe is melt in your mouth delicious.  I didn't create the recipe myself of course, I can't take credit for that.  I got it from Barefoot Contessa.  The recipe calls for homemade dough and my first reaction was YEAH RIGHT.  I am pretty good at following directions but actually preparing a dough is a different story.  However, it turned out amazing! I didn't have a food processor like the recipe called for so I used a mixer instead and it worked just fine.  Just follow the easy steps below and you will have a yummy dessert for any event (plus you can tell yourself it's healthy because it has apples!).

Ingredients


For the pastry:


  • 2 cups all-purpose flour

  • 1/2 teaspoon kosher salt

  • 1 tablespoon sugar

  • 12 tablespoons (11/2 sticks) cold unsalted butter, diced

  • 1/2 cup ice water


For the apples:


  • 4 Granny Smith apples

  • 1/2 cup sugar

  • 4 tablespoons (1/2 stick) cold unsalted butter, small diced

  • 1/2 cup apricot jelly or warm sieved apricot jam

  • 2 tablespoons Calvados, rum, or water


Directions


For the pastry, place the flour, salt, and sugar in the bowl of a food processor fitted with the steel blade. Pulse for a few seconds to combine. Add the butter and pulse 10 to 12 times, until the butter is in small bits the size of peas. With the motor running, pour the ice water down the feed tube and pulse just until the dough starts to come together. Dump onto a floured board and knead quickly into a ball. Wrap in plastic and refrigerate for at least 1 hour.

This is how my dough turned out and I was so proud.  It was perfect after it rested in the fridge.  It may seem somewhat difficult to make it but I promise it is so easy.  If I can do it, you can!


Preheat the oven to 400 degrees F. Line a sheet pan with parchment paper.

After dough has rested, roll the dough slightly larger than 10 by 14-inches. Using a ruler and a small knife, trim the edges. Place the dough on the prepared sheet pan and refrigerate while you prepare the apples.


I did not want my fritter to tart so I chose two Granny Smith and Two Gala which turned out perfect.

Peel the apples and cut them in half through the stem. Remove the stems and cores with a sharp knife and a melon baler. Slice the apples crosswise in 1/4-inch thick slices. Place overlapping slices of apples diagonally down the middle of the tart and continue making diagonal rows on both sides of the first row until the pastry is covered with apple slices. (I tend not to use the apple ends in order to make the arrangement beautiful.) Sprinkle with the full 1/2 cup of sugar and dot with the butter.


Bake for 45 minutes to 1 hour, until the pastry is browned and the edges of the apples start to brown. Rotate the pan once during cooking. If the pastry puffs up in one area, cut a little slit with a knife to let the air out. Don't worry! The apple juices will burn in the pan but the tart will be fine!

When the tart's done, heat the apricot jelly together with the water and brush the apples and the pastry completely with the jelly mixture. Loosen the tart with a metal spatula so it doesn't stick to the paper. Allow to cool and serve warm or at room temperature.


Besides a few dark brown edges from the apple juices it was amazing.  I added a little bit of vanilla ice cream to my piece and it was the cherry on top of the cake :)

As my nephew would quote from Yo Gabba Gabba: Try It, You'll Like it!

Thursday, August 19, 2010

I think I've found a hobby!

After a very long weekend visiting family and realizing that when you are pregnant, life gets kind of boring.  I knew I needed to come home and really start the search for a hobby.  After getting caught up on my sleep, this overwhelming urge came over me to want to cook and bake.  I have really been obsessed with Food Network for about six months now and as I was sitting here watching an episode of Barefoot Contessa, I realized that I wanted to try cooking.  Since getting married I have really learned a lot about food and seasoning and cooking, but I never really enjoyed doing it, until now! I started my cooking journey out with something easy but fresh and delicious.  Let's see it step by step shall we?

Yummy Steak Fajitas

First step is to cut your steak (I prefer to use Sirloin steak rather than the pre-cut meat, it's more tender that way) into long strips and brown it until it's cooked to your prefered temperature.  I prefer Medium to Medium Well.  When the meat is done add your fajita sauce pack.  Next time we are going to try our own sauce because the packs are way too salty.  *Please regard my messy stove top, I usually clean as I go, but Dustin was actually the one browning the meat*


Next, cut your veggies.  You can use whatever suits your fancy, but we chose a Green Bell Pepper, a Red Bell Pepper and an Onion.  Heat some Olive Oil in a skillet and add your veggies with a little salt and pepper.  Cook those until they are still a little crunchy.


While your veggies and meat are still cooking go ahead and chop your sides.  We like lettuce, tomato and cheese.  It can't be a yummy fajita without sides!


Next, mix together your veggies and meat so that your sauce soaks into those veggies.


A good side option for fajitas is some Mexican rice.  You can find it in any grocery store in the Ethnic food or rice isle.  I haven't quite gotten to everything being homemade but I'm working on it!


And for the finished product...


Dinner time! I promise if you make this super easy yet delicious meal your family will love you forever! Stay tuned for dessert.  I should be posting my Apple Fritter recipe soon!